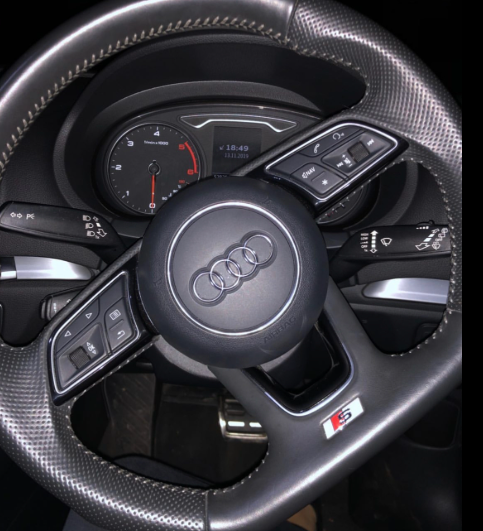
Audi A3 (8V) – Activation of the multifunction steering wheel (retrofit) (Coding)

Purpose : Allows the multifunction steering wheel to be activated as a retrofit.
Attention!! There are 8 lines of coding to do here.
Proceed:
1 – With the engine off and the ignition off, connect your official VAG-COM VCDS cable to the computer and then connect the other end to the diagnostic socket of your vehicle.
2 – Switch on the ignition and then launch the VCDS program.
Line 1:
3 – Click on “ Select ” and then click on “ 16 – Multifunction steering wheel ”.
4 – Click on “ Coding – 07 ” then click on “ Long Coding Wizard ”
5 – Choose the byte “ 00 ”
Then check Bit “ 1 ” (this is not mandatory)
Line 2:
3 – Click on “ Select ” then click on “ 17 – Instruments ”.
4 – Click on “ Coding – 07 ” then click on “ Long Coding Wizard ”
5 – Choose the byte “ 10 ”
Then check the Bit “ 7 ”
Line 3:
3 – Click on “ Select ” then click on “ 19 – CAN Gateway ”.
4 – Click on “ Coding – 07 ” then click on “ Long Coding Wizard ”
5 – Choose the byte “ 1 ”
Then check the Bit “ 0 ”
Line 4:
3 – Click on “ Select ” then click on “ 5F – Information Electr. ”
4 – Click on “ Security Access – 16 ” then type the code “ 20103 ”
5 – Click on “ Adaptation – 10 ”.
6 – On this page, at the very top, there is a drop-down menu.
In this drop-down menu, choose “ vehicle function list CAN-MFL ”
7 – On this same page, there is a second drop-down menu but towards the bottom of the page.
On the latter, choose “ available ” then validate.
Line 5:
3 – Click on “ Select ” then click on “ 5F – Information Electr. ”
4 – Click on “ Security Access – 16 ” then type the code “ 20103 ”
5 – Click on “ Adaptation – 10 ”.
6 – On this page, at the very top, there is a drop-down menu.
In this drop-down menu, choose “ vehicle function list BAP-MFL_0x0F ”
7 – On this same page, there is a second drop-down menu but towards the bottom of the page.
On the latter, choose “ activated ” then validate.
Line 6:
3 – Click on “ Select ” then click on “ 5F – Information Electr. ”
4 – Click on “ Security Access – 16 ” then type the code “ 20103 ”
5 – Click on “ Adaptation – 10 ”.
6 – On this page, at the very top, there is a drop-down menu.
In this drop-down menu, choose “ vehicle function list BAP-MFL_Jocker_0x34 ”
7 – On this same page there is a second drop-down menu but towards the bottom of the page.
On the latter, choose “ activated ” then validate.
Line 7:
3 – Click on “ Select ” then click on “ 5F – Information Electr. ”
4 – Click on “ Security Access – 16 ” then type the code “ 20103 ”
5 – Click on “ Adaptation – 10 ”.
6 – On this page, at the very top, there is a drop-down menu.
In this drop-down menu, choose “ Vehicle menu operation-menu_display_MFL_jocker ”
7 – On this same page there is a second drop-down menu but towards the bottom of the page.
On the latter, choose “ activated ” then validate.
Line 8:
3 – Click on “ Select ” then click on “ 5F – Information Electr. ”
4 – Click on “ Security Access – 16 ” then type the code “ 20103 ”
5 – Click on “ Adaptation – 10 ”.
6 – On this page, at the very top, there is a drop-down menu.
In this drop-down menu, choose “ Vehicle menu operation-menu_display_MFL_jocker_over_treshold_high ”
7 – On this same page there is a second drop-down menu but towards the bottom of the page.
On the latter, choose “ activated ” then validate.